Difference between revisions of "HOWTO:New Equipment Definition"
| Line 50: | Line 50: | ||
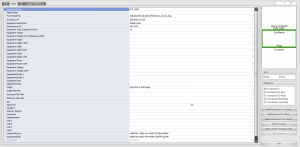
|When you have finished updating your equipment detail, ''Click'' the '''[I/O]''' tab. || This will pull up the I/O page where you will be able to add, delete or modify all inputs and outputs on this piece of equipment. [[File:I-O Page.png|thumb|I/O Detail Page]] | |When you have finished updating your equipment detail, ''Click'' the '''[I/O]''' tab. || This will pull up the I/O page where you will be able to add, delete or modify all inputs and outputs on this piece of equipment. [[File:I-O Page.png|thumb|I/O Detail Page]] | ||
|- | |- | ||
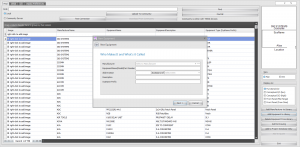
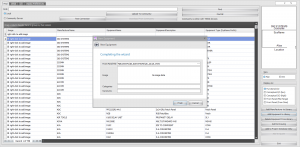
| − | |In the middle of the screen, ''Click'' the '''[Add Ports]''' button || A dialog box will now pop up allowing you to fully customise your I/O list. You have the ability to select add as an | + | |In the middle of the screen, ''Click'' the '''[Add Ports]''' button || A dialog box will now pop up allowing you to fully customise your I/O list. You have the ability to select add as an Input, Output or Both, The Name Of The Port, Cable End Connectors, Signal Type, Input and Output Pin Types, Add Multiple Ports and Appending Characters. To learn more about customising your I/O, please refer to '''[[Customising I/O On Equipment]]''' [[File: Port Creation Window.png|thumb|Add Port Dialog Box]] {{Note| If you are adding many of one type of input or output, ''Click'' '''[Add Multiple Ports]''', select the number of ports you want and it will automatically add all the ports at the same time. This can be a time saver if you have equipment with many I/O of the same type. [[File:Multiple Ports.png|thumb|Add Multiple Ports Button]]}} |
|- | |- | ||
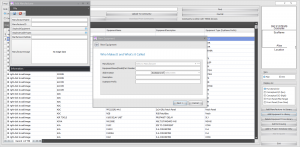
|Creating ports that are distinguished from other similar ports is very simple ''(Example: Left Rca, Right Rca, Video Rca)''|| Simply create the port you would like, then, in the '''[Finaly Append Characters]''' box, enter your defining factor and ''Click'' '''[Add Ports And Close]'''. [[File:Finnaly Append Characters.png|thumb|Finally Append Characters]] | |Creating ports that are distinguished from other similar ports is very simple ''(Example: Left Rca, Right Rca, Video Rca)''|| Simply create the port you would like, then, in the '''[Finaly Append Characters]''' box, enter your defining factor and ''Click'' '''[Add Ports And Close]'''. [[File:Finnaly Append Characters.png|thumb|Finally Append Characters]] | ||
Revision as of 14:22, 6 October 2011
| Command Line Shortcut: ' User Permissions Level: All |
Contents
Before You Start
Check that the piece of equipment you are looking for is not currently avaliable in the Local Library or Online Community. To check the Local Library and Online Community, Click Advanced Tools>Equipment Library. On the left hand side of the screen under the Menu Bar, you will see the option to select Local or Community Server. Enter your search query information in the Find box, select whether you would like to search Local or Community Server and press [Find]. If you are unable to find your equipment, proceed below.
How To Create A New Piece Of Equipment
| Step | Description |
|---|---|
| Click Advanced Tools>Equipment Library OR Database>Equipment Library OR Command shortcut LE | This will bring you to the equipment library where you can search for pieces of equipment. ----
|
| On the right hand side of the screen, you will see multiple buttons including [Add Manufacturer To Library] and [Add Equipment To Library] | You will need to make sure that your Manufacturer is currently listed in the library. If it is not, please refer to How To Add A New Manufacturer To Library and add this information first. (This can also be done while adding new equipment if desired) |
| Click [Add Equipment To Library] | When you click [Add Equipment To Library], a dialog box will pop up with a series of fields that you are required to fill in as well as some that are optional. |
| In the dialog box, start by selecting the Manufacturer field and input who makes your piece of equipment. | Clicking anywhere in the field will populate a drop down menu in which you will be able to select from the list of Manufacturers currently avaliable. Alternately, if your Manufacturer isnt listed and you havent created it yet, you can Click the [...] which will bring up a new dialog box allowing you to create your Manufacturer from here. |
| After filling out the first set of fields Click [Next] | You are now presented with another set of fields to fill out. The only reccomended field is the front panel field. Click [...] to open the folder and select the 2D_Elevations folder. This folder contains a set of premade panels. Here you will need to browse in order to find the panel that works best for your type of equipment. You can also refer to Creating Equipment Panels to learn how to create custom panels. |
| After selecting your panel and filling out any other information you would like, Click [Finish]. | Your new equipment will now be created and you will automatically be taken to it in your Equipment Library.
|
Adding/Changing I/O Ports And Updating Detail
At this point, your newly created equipment should be the only visible piece of equipment
| Step | Description |
|---|---|
| Click the [Detail] tab. | From here enter in any information you have avaliable on your equipment. (Again, we ask that you please be as thorough as possible and please upload your equipment to the community when your done) |
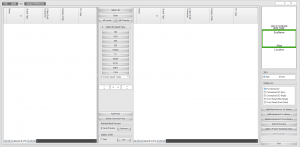
| When you have finished updating your equipment detail, Click the [I/O] tab. | This will pull up the I/O page where you will be able to add, delete or modify all inputs and outputs on this piece of equipment. |
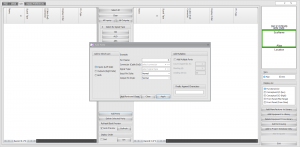
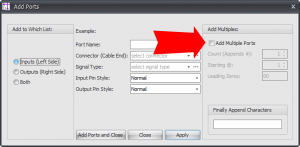
| In the middle of the screen, Click the [Add Ports] button | A dialog box will now pop up allowing you to fully customise your I/O list. You have the ability to select add as an Input, Output or Both, The Name Of The Port, Cable End Connectors, Signal Type, Input and Output Pin Types, Add Multiple Ports and Appending Characters. To learn more about customising your I/O, please refer to Customising I/O On Equipment ----
|
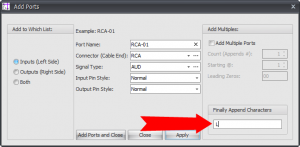
| Creating ports that are distinguished from other similar ports is very simple (Example: Left Rca, Right Rca, Video Rca) | Simply create the port you would like, then, in the [Finaly Append Characters] box, enter your defining factor and Click [Add Ports And Close]. |
Uploading Equipment Back To The Community Library
We ask that all of our WireCAD users upload any created equipment back to our Community Server to share with everyone. When you first install WireCAD, you are asked if you would like to "Automatically Contribute My Work", "Only After I Check the Approved Box for Each Record" or "No Thanks". Depending on your selection, WireCAD will automatically upload your equipment or wait for you to approve it.
If you have selected "Automatically Contribure My Work", we thank you and you do not need to do anything further. If however you have selected "Only After I Check The Approved Box For Each Record", you will need to follow these steps.
- From your Equipment Library, find your created equipment. (You can search by any criteria you like or just browse down)
- After you have found your equipment, highlight it and Click the [Detail] tab.
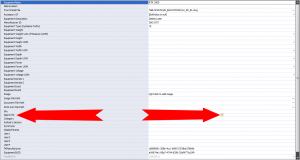
- About 3/4 of the way down you will see a field labled Approved and a Check Box associated with it. Click the box. WireCAD will now automatically upload this piece of equipment next time it connects to the server.
WireCAD will search the community by Manufacturer ID and by Model Number to determine if the equipment already exists. If it does, your equipment will not be uploaded to prevent duplicates.
