Command Line Shortcut: '
User Permissions Level: All
Product Level: All
This will allow you to use a drawing from an existing project in a new or current project.
|
Before You Start
- You will need to know where your existing drawing is located on your machine (where that project and drawings were saved).
- Are you going to use the SysNames from the existing drawing or are you going to create new SysNames. (In some occasions SysNames will not be able to be reused. Cable numbers will not be reusable in your current project).
How To Use An Existing Drawing In A Current Project
| Step |
Description
|
| 1. With your current project open, Click File>Open Drawing or enter o into the Command Line. |
|
| 2. Drill down until you find the drawing you would like to use and Click [Open] button. |
The drawing will be located in the save folder you specified for that project. Example ..\MyDocuments\Project1\EquipmentRoom13\FileA.dwg.
|
3. At this point you will be asked if you would like to Copy before opening. 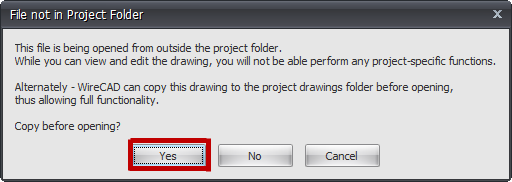 |
If you are simply using the drawing for reference (Not changing or adding to project) you can Click [No]. If you plan to add or make any changes to the drawing you will want to Click [Yes ].
|
| 4. Your drawing will now be avaliable for edit however none of its data (SysNames, Cable numbers Etc.) will be in the project database. |
Cable numbers cannot be reused however, if it is possible to use the existing SysNames, Click Advanced Tools>Equipment Functions>Slurp SysNames. This will take a few moments and pull all SysName data from the drawing and add it to the Project Database. To verify there are no errors with existing data, Click Advanced Tools>Equipment Functions>Drawing SysName Error Check.
|
| 5. To clear all cable number data, Click Advanced Tools>Cable Functions>Reset All Cable Numbers In Drawings. |
This will reset all cable numbers in the drawing and allow you to assign new numbers. This does not update data automatically to your Project Database. You will need to manuallly save after you have made your changes.
|
| 6. To clear all SysName data, Click Advanced Tools>Equipment Functions>Reset All SysNames In Drawing. |
This will reset all SysNames in the drawing and allow you to create new SysNames. This does not update data automatically to your Project Database. You will need to manually save after you have made your changes.
|
ScreenShots
| Info |
Image
|
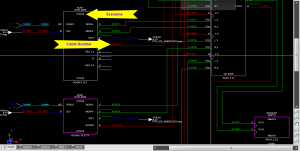
| 1. Before Reseting Data |
This image shows you a drawing with existing SysNames and cable numbers.
|
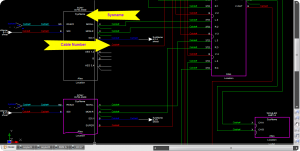
| 2. After Reseting Data |
This image shows you the same drawing as above only after using the "Reset All Cable Numbers In Drawings" and "Reset All SysNames In Drawings" commands.
|
| 3.Before Slurping SysNames |
This image shows your Systems Database before using the "Slurp SysName" command. 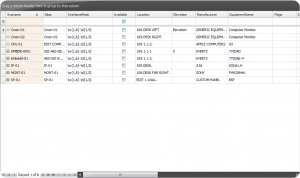 Systems Database Before Slupring SysNames |
| 4. After Slurping SysNames |
This image shows your Systems Database after using the "Slurp SysName" command. If you have any errors, they will show in yellow.
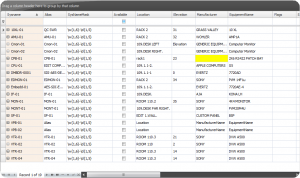 Systems Database After Slurping SysNames |
Saving Updated Drawing Data
You will need to manually save your drawing after any of the following:
- Reseting all cable numbers in drawing.
- Reseting all SysName data in drawing.
Your drawing is now ready to be customized to fit your current project. After updating SysNames and Cable Numbers, all data will be availiable in your reports.

