Moving A WireCAD SQL Project Database Using Microsoft SQL Server Management Studio

From WireCAD Online Help
Jump to: navigation, search
Command Line Shortcut: Varied

User Permissions Level: All
Product Level: All
This will guide you on how to move a project database to a new SQL server using Microsoft's SQL Server Management Studio.


Bulbgraph.png Note: You will need to have access to both SQL server locations as well as have Microsoft SQL Server Management Studio installed on your machine.


Before You Start

This procedure assumes that you are not afraid of working with SQL Server. It also assumes that the project databases and global equipment databases are SQL Server based.
Removing the Files from the Old Server

Step Description/Image
1. Launch Microsoft SQL Server Management Studio and log on to your SQL server that contains your project database You will need to have admin privileges so check with your I.T. department if you are unsure of permissions or locations.
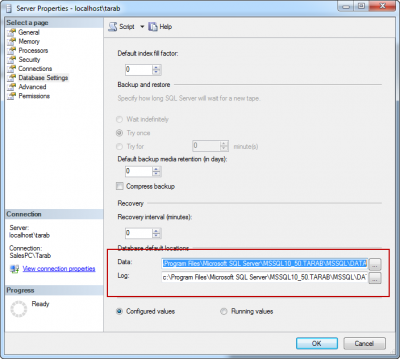
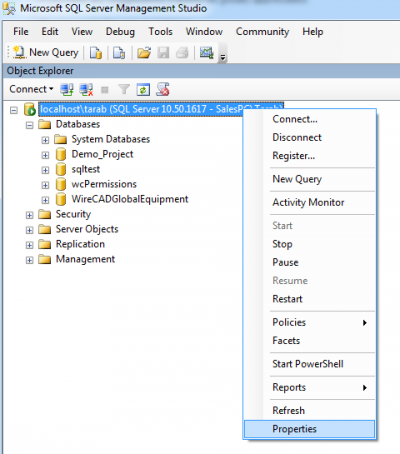
2. Find the file path that your SQL databases are saved to. You can do this by right clicking on your host server name in the Object Explorer and then selecting Properties>Database Settings. RightClick.png Properties.png
Database Settings.png
3. Take note of where the databases are saved and then return to your Object Explorer.

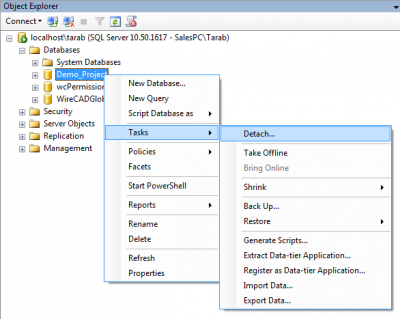
4. Right click on your project database and select Task>Detach. Task Detach.png
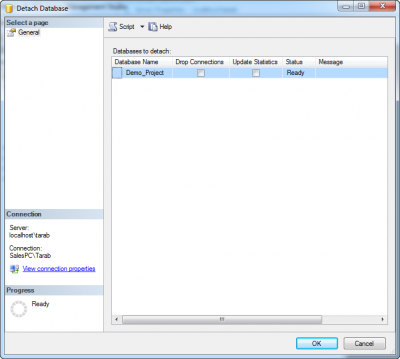
5. A new window will open showing your database. If a message appears that you have a connection to that database, check the Drop Connections box and click OK. Drop Connections.png
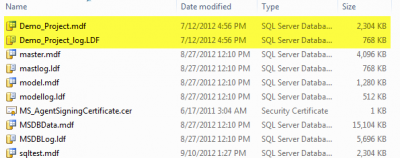
6. Navigate to your database folder location and copy your projects MDF & LDF filesto the default folder location of your new SQL Server. MDF and LDF.png
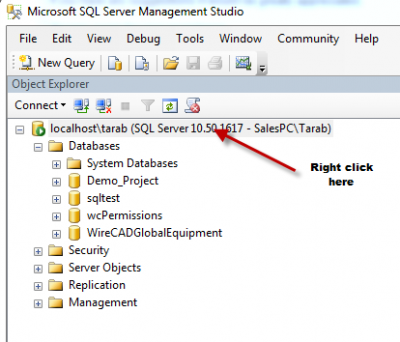
7. With your new SQL Server Location open, login to the server and attach your Project Database's to your new server. To attach your databases, right click on Databases in your Object Explorer window and select Attach.
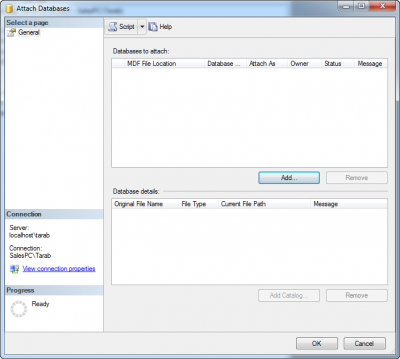
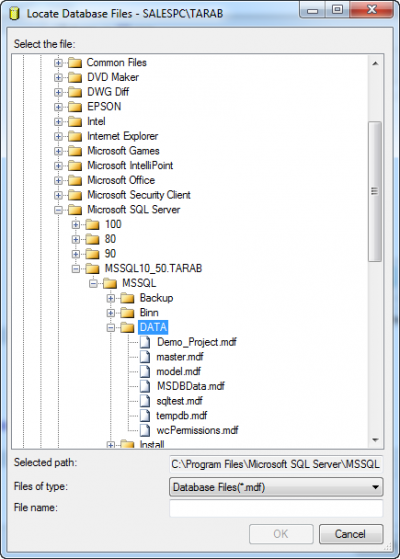
8. A new window will open under Databases to attach. Click Add and navigate to your project MDF file that you copied from the other machine. Attach Databases.png MDF.png
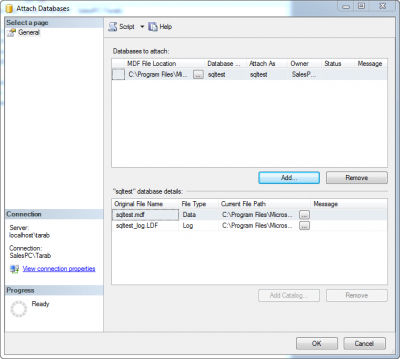
9. When you select the correct MDF file, it will automatically grab both the Data MDF file and the Log LDF file under database details. (Make sure you see both of these files) Attach Databases 2.png
10. Verify that your databases are now in the correct location and your done.