|
<< Click to Display Table of Contents >> How To: Create a Label Report |
  
|
|
<< Click to Display Table of Contents >> How To: Create a Label Report |
|
1.Click Reports>New Report with Wizard.
2.Select the Label Report option.

3.Click [Next >].
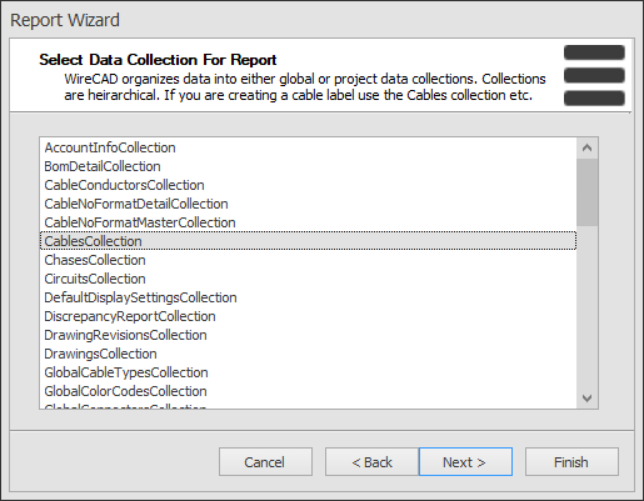
4.Select a data collection. Data collections access both the global and project databases. Note: In the case of labels we probably want to use the CablesCollection.
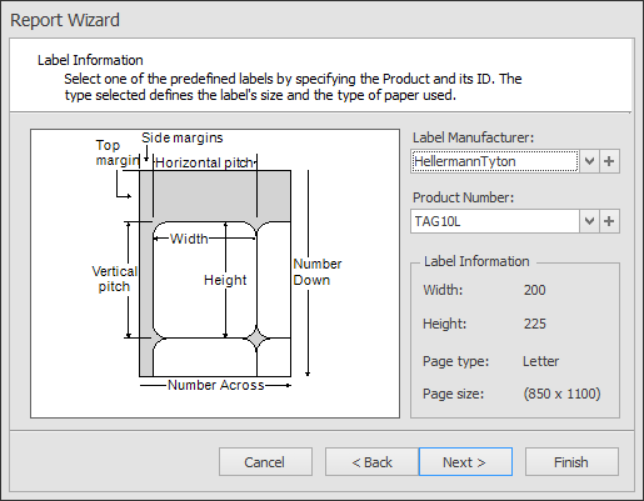
5.Select a label format. WireCAD comes stock with over 1000 label formats from 15 manufacturers including Panduit, Hellerman Tyton and Brady.
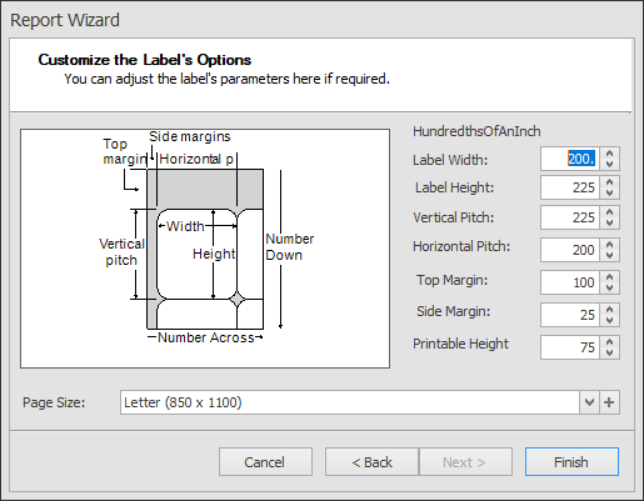
6.Modify height and width of each label and its printable area and margins.
7.Click [Finish] to create your shiny new report.
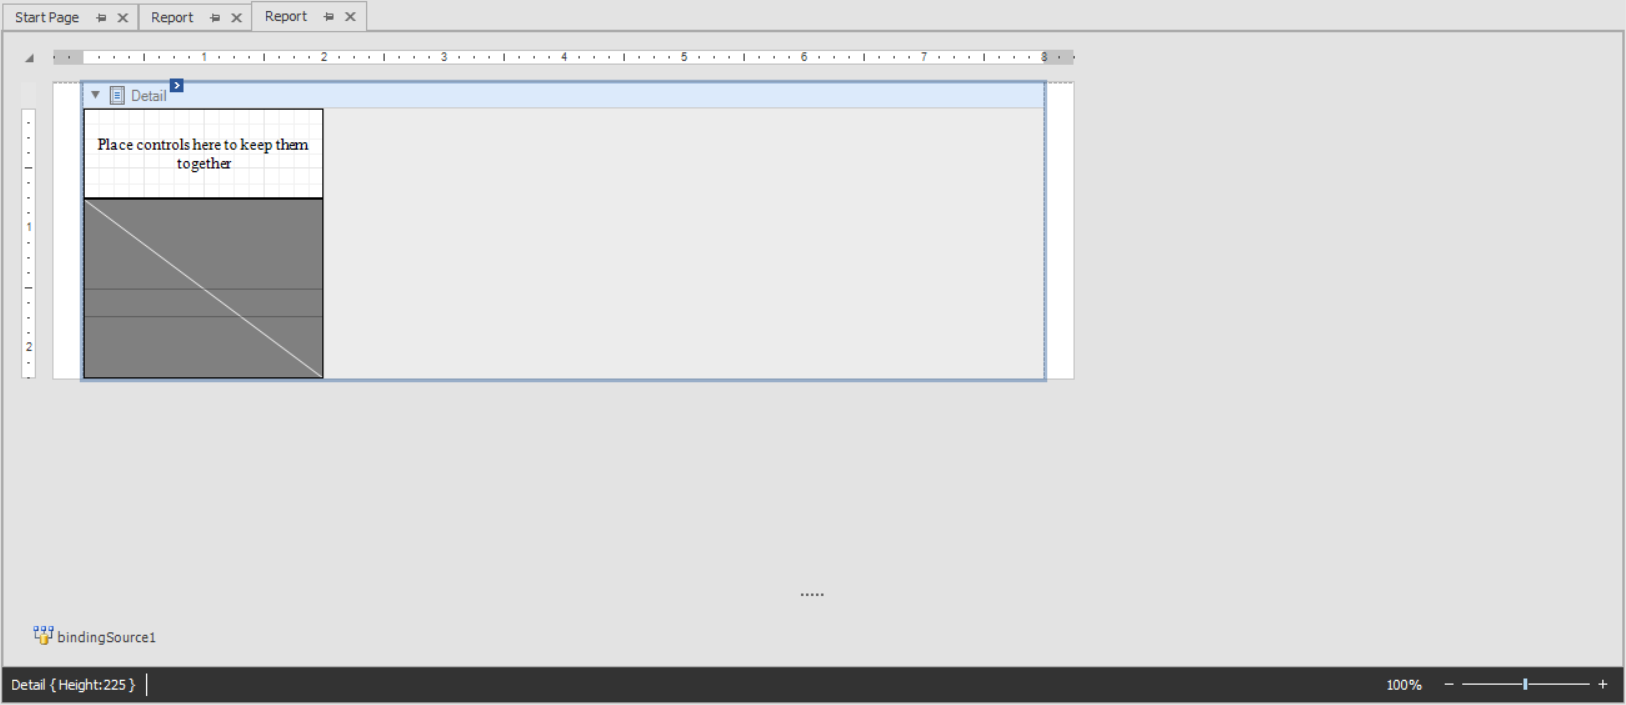
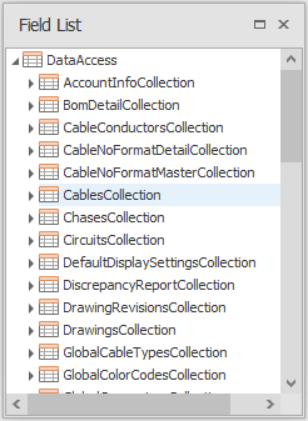
8.Select the Field List and drag any fields that you wish to display on to the report design surface. Avoid placing field on the light and dark gray areas. The light gray area will not print and the dark gray is indicative of the clear laminating portion of a cable label.
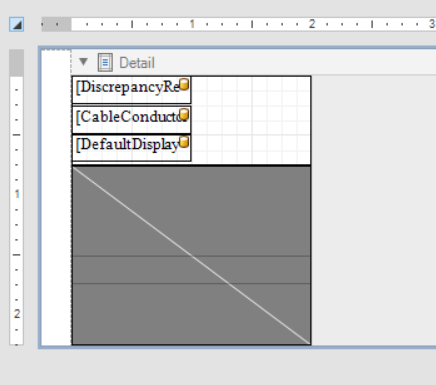
9.Here we have three fields that we have dragged and positioned on the design surface.
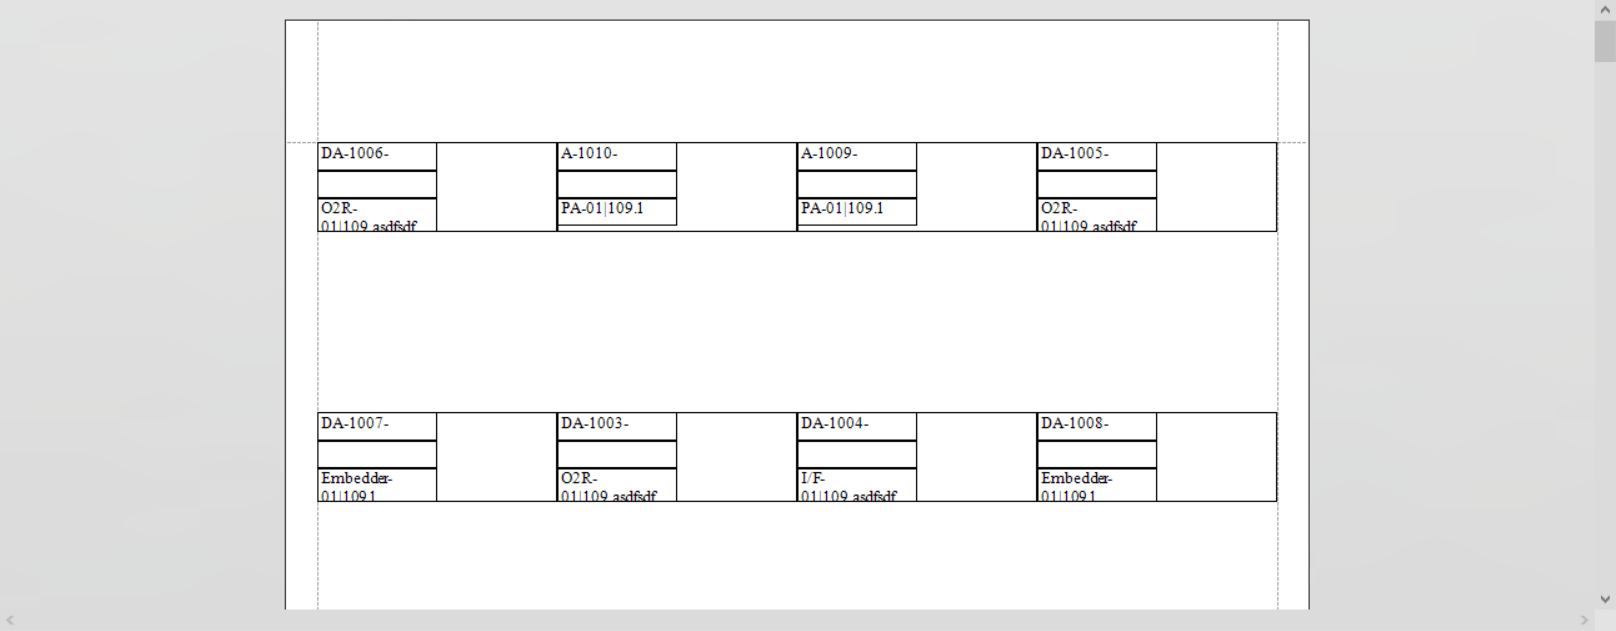
10.Final output looks like this:
11.Click File>Save and save your work to your reports support path. It can be saved anywhere in the %REPORTS% support path folder tree.